
I recruited some muscle to help out with this project, especially since I just so happened to live with the perfect man for the job. He ended up doing a lot of the cutting, especially after we found out that the exterior of Lalo's pumpkin was so hard it was like cutting through wood! I also recruited two cutie pies to help with the messy part, and they didn't mind of course.

First, I printed out the designs, cut them into stencils, and traced the designs on the pumpkins with a ballpoint pen. I used a pen because I didn't care too much about whether the ink came off after the fact. If you don't want to see writing on your pumpkin, you might try a dry erase marker or something that will come off easily. Then, my husband cut the tops off so that we could later insert a candle.
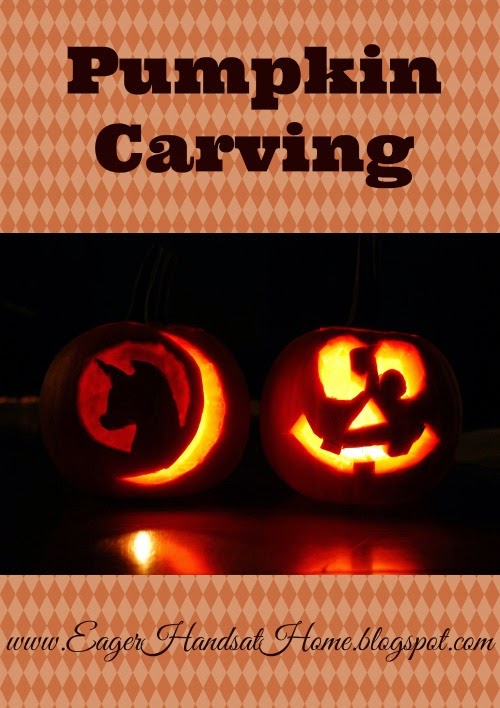
Lalo's design required the moon to be cut out completely, then just the "skin" removed around the mare. After my husband cut out the moon, I went to work on the "skin" removal. I absolutely could not shave that tough exterior with a sharp knife. Well, I probably could have, but might have cut off a finger or stabbed myself in the process. And, I didn't have any other pumpkin carving tools, so I got this crazy idea of using my husband's Black & Decker Cordless Drill

I hope this gives you some ideas and/or inspiration for detailing a pumpkin of your own!

Disclosure: This post may contain sponsor, affiliate, and/or referral links. For more information, please see my full Disclosure Policy. I am no expert on the use of any tools mentioned here, so please use caution and seek manuals or professional guidance before trying this at home. Our children were not allowed to use sharp or dangerous items during this process. We urge readers to please use caution when children are present and any items mentioned are being used.
No comments:
Post a Comment